Unbuntu 16.04 VPS setup guide with Azure
last updated: 07-16-2018
- Sign-in to the Azure portal at https://portal.azure.com.
- Choose Create a resource in the upper left-hand corner of the Azure portal.
- In the search box above the list of Azure Marketplace resources, search for and select ubuntu server 16.04 LTS, then choose Create.
-
Provide a VM name, such as Masternode1, leave the disk type as SSD, then provide a username, such as sampleuser. The password must be at least 12 characters long and meet the defined complexity requirements.
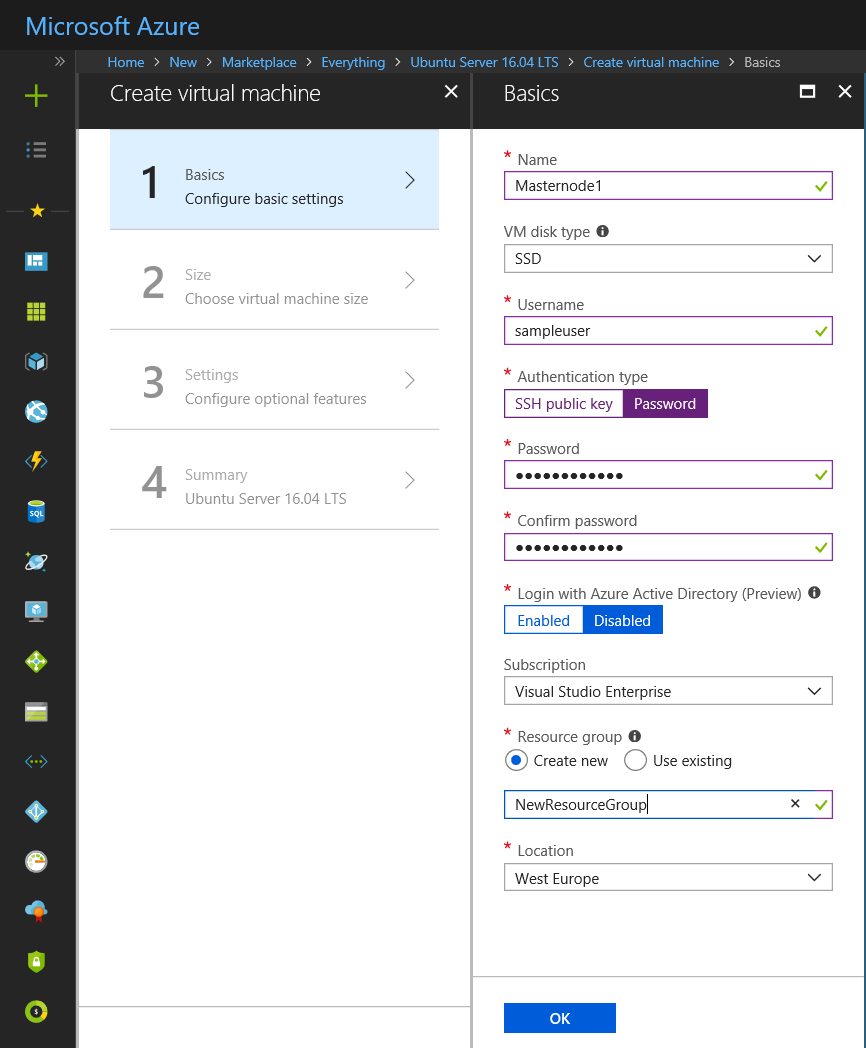
- Choose to Create new resource group, then provide a name, such as NewResourceGroup. Choose your Location, then select OK
-
Select a size for the VM. You can filter by Compute type or Disk type, for example. A suggested VM size is B1s. Click Select after you have chosen a size

-
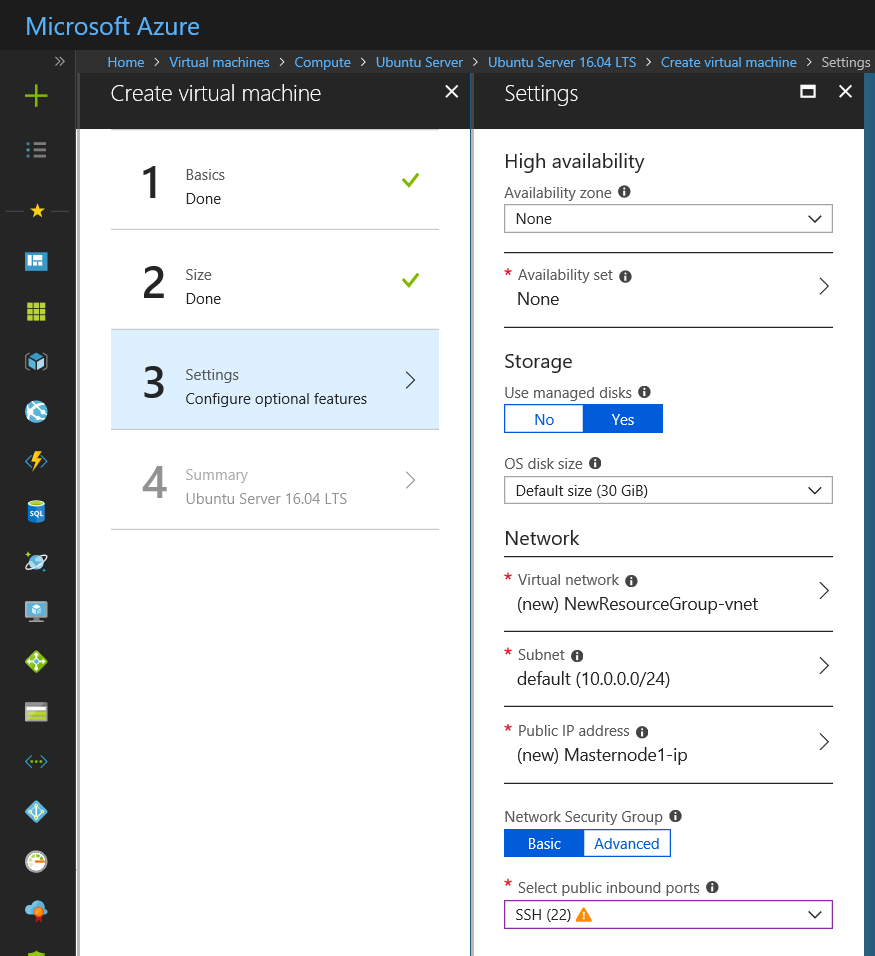
On the Settings page,
- in Network > Public IP address > Select Create new, select static assigment and select OK
- in Network > Network Security Group > Select public inbound ports, select SSH from the drop-down. Leave the rest of the defaults and select OK.
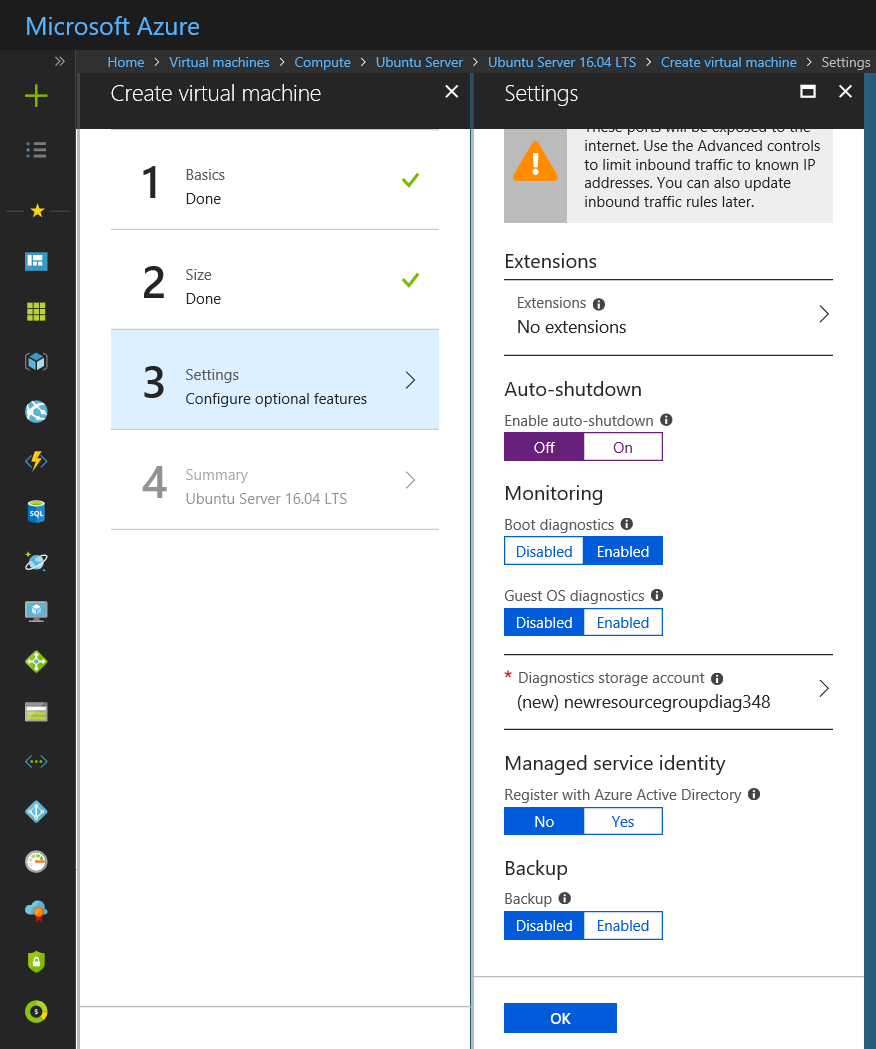
- in Auto-shutdown > Select Off and select OK
-
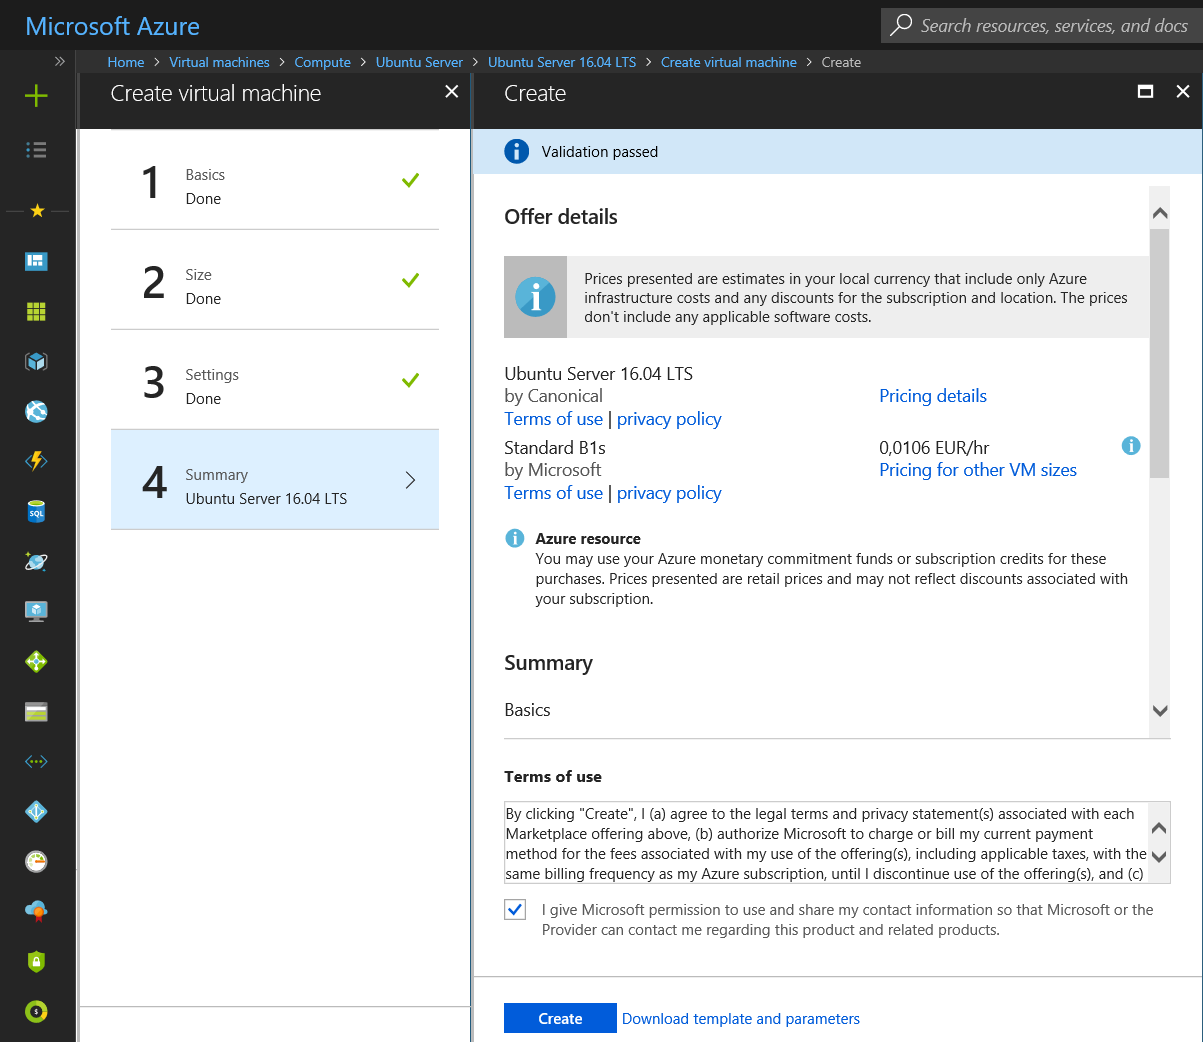
On the summary page, select Create to start the VM deployment.